After you have a design, the next thing to do is to use it to create some products in GearBubble.
Some of you may not know what GearBubble is. Let me tell you briefly.
GearBubble is a Print-On-Demand (POD) platform that you can use to create products for free. You don’t need to pay for anything up front (except the cost of Dropship Integration). You pay only when you get an order.
Other platforms provide print-on-demand products, but I haven’t tried any of them, so I don’t have an opinion about them.
My team has worked well with GearBubble for years, and there is no reason for us to move to a new place.
There are many products there – t-shirts, coffee mugs, shot glasses, travel mugs, necklaces, pillowcases, etc.
But in the LHS business, I use one design for three products only: a coffee mug, a shot glass, and a travel mug.
My team creates 50 designs a day and puts one design on each of these three products. We upload 150 products to Amazon every day.
That’s enough for my team. If they have to upload more products than that, they won’t have time to do other things.
When you get an order, GearBubble will charge you the production cost, start making your product and ship it to your customer.
The whole process is done automatically. You don’t have to do anything.
OK, now you know all about GearBubble.
Now let me walk you through all the steps you need to take to create a product on GearBubble.
I have attached the walkthrough process PDF in the Resources page, so you can download it and send it to your team. They can easily follow it.
But for now, learn the process yourself, so you will understand what to do and be able to help your team if they run into problems.
Go to https://www.gearbubble.com/ and click “Login”. If you don’t have an account, register first.
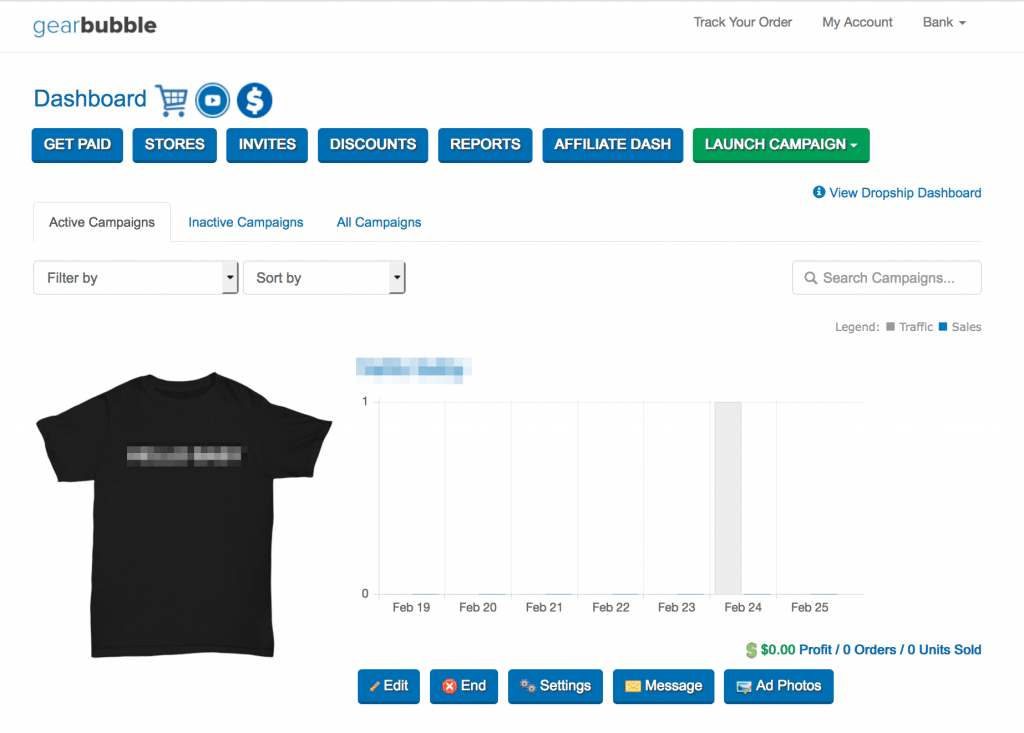
You’ll see the user dashboard, like this:
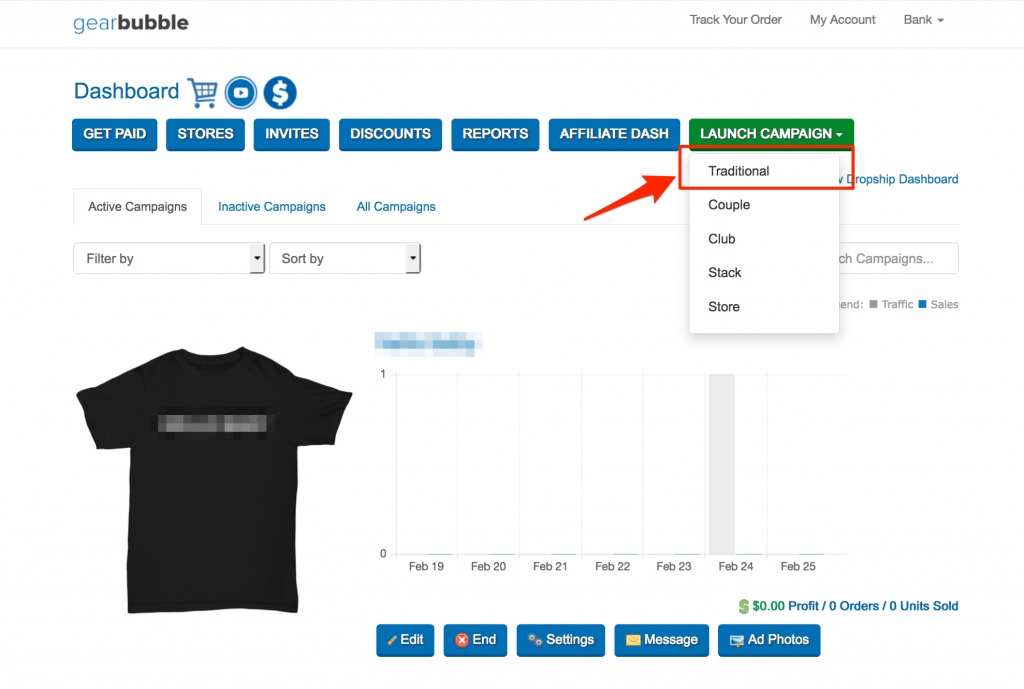
Click “LAUNCH CAMPAIGN” and select “Traditional”.
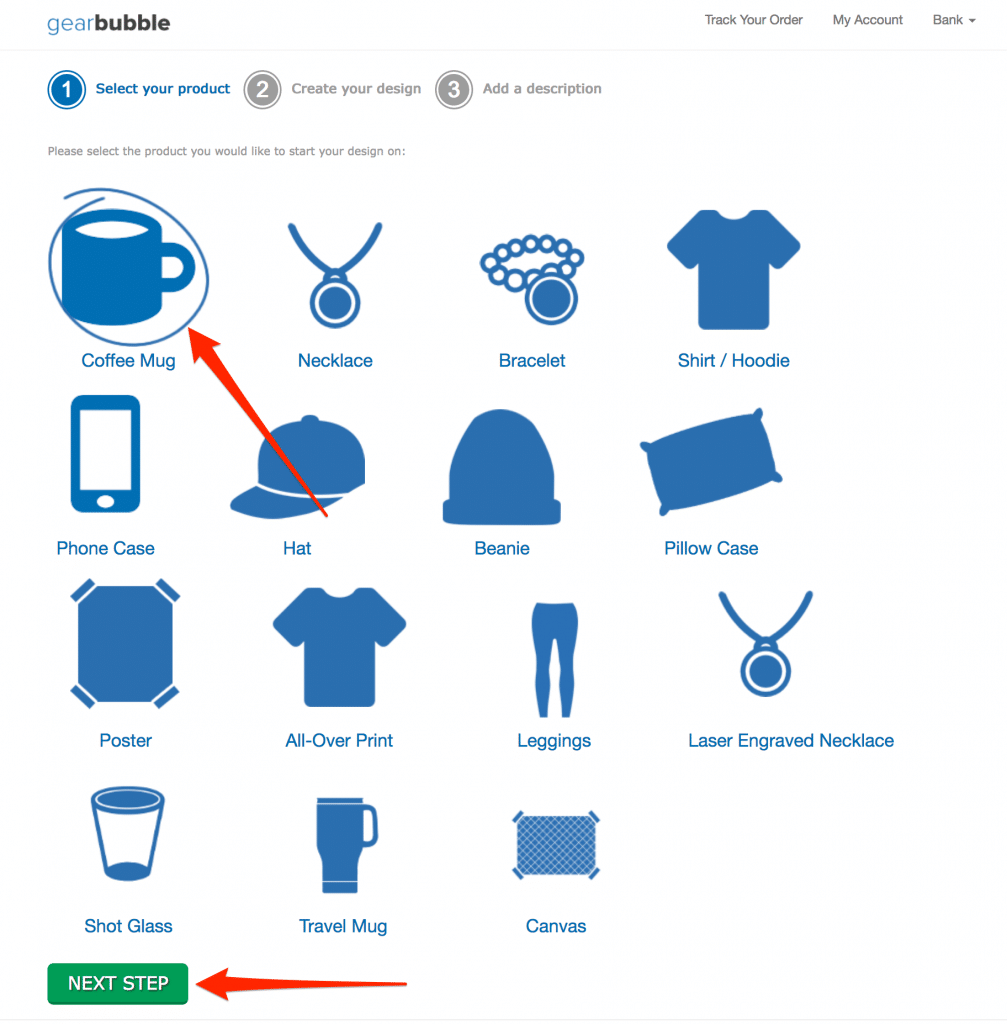
Let’s create a coffee mug. Select “Coffee Mug” and click “NEXT STEP”.
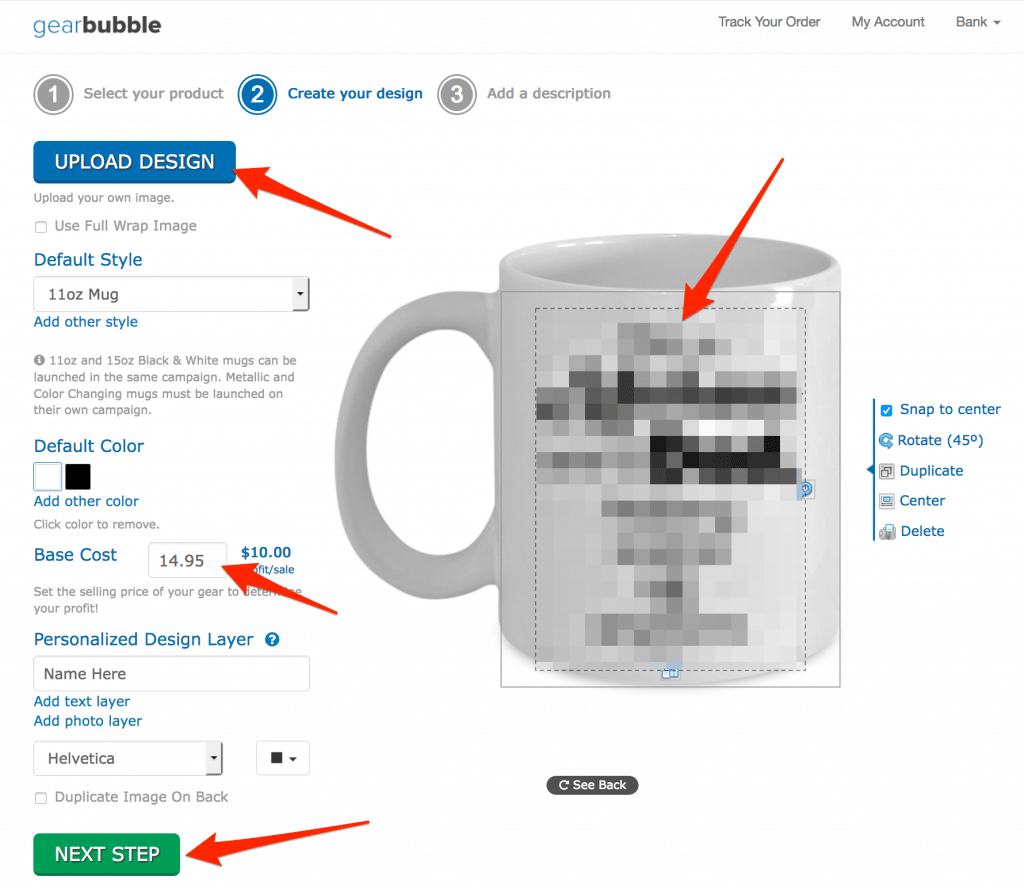
Next, upload the design to the coffee mug, set the base cost you want to sell this item for, and click “NEXT STEP”.
Next, set up the description for the coffee mug. What you need to set up here is the product title and tags. These are two things that will be used for product information on Amazon.
Insert them here correctly, so you don’t need to edit them again in Amazon.

For the description and URL in GearBubble, you can insert anything. These will not show up on Amazon and have no effect on your product.
Select the right category for your products, because some people will come to GearBubble and purchase products directly. You will get sales for free!
So make sure you put your products in the right category.
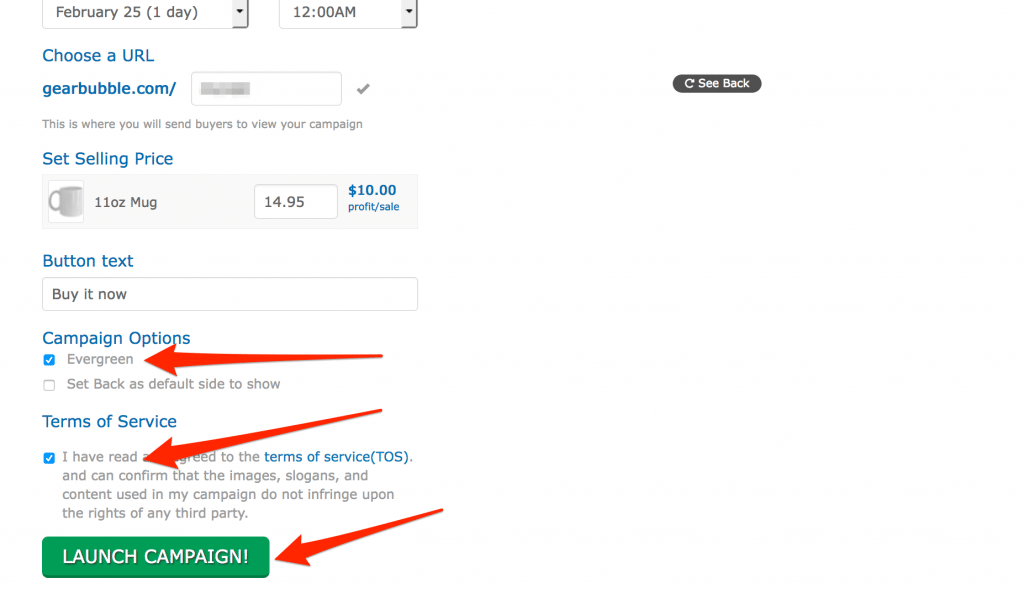
Tick the “Evergreen” box, agree to the TOS, and click “LAUNCH CAMPAIGN”.
All done!
Very simple, right? It takes around 1-2 minutes to create one product.
In the PDF file in the Resource page, I describe all this in more detail, including how to log in, what to click, etc. so your team can follow along easily.
But you’re not finished yet. Next, you have to send the GearBubble product to Amazon.
Let’s move on.
